
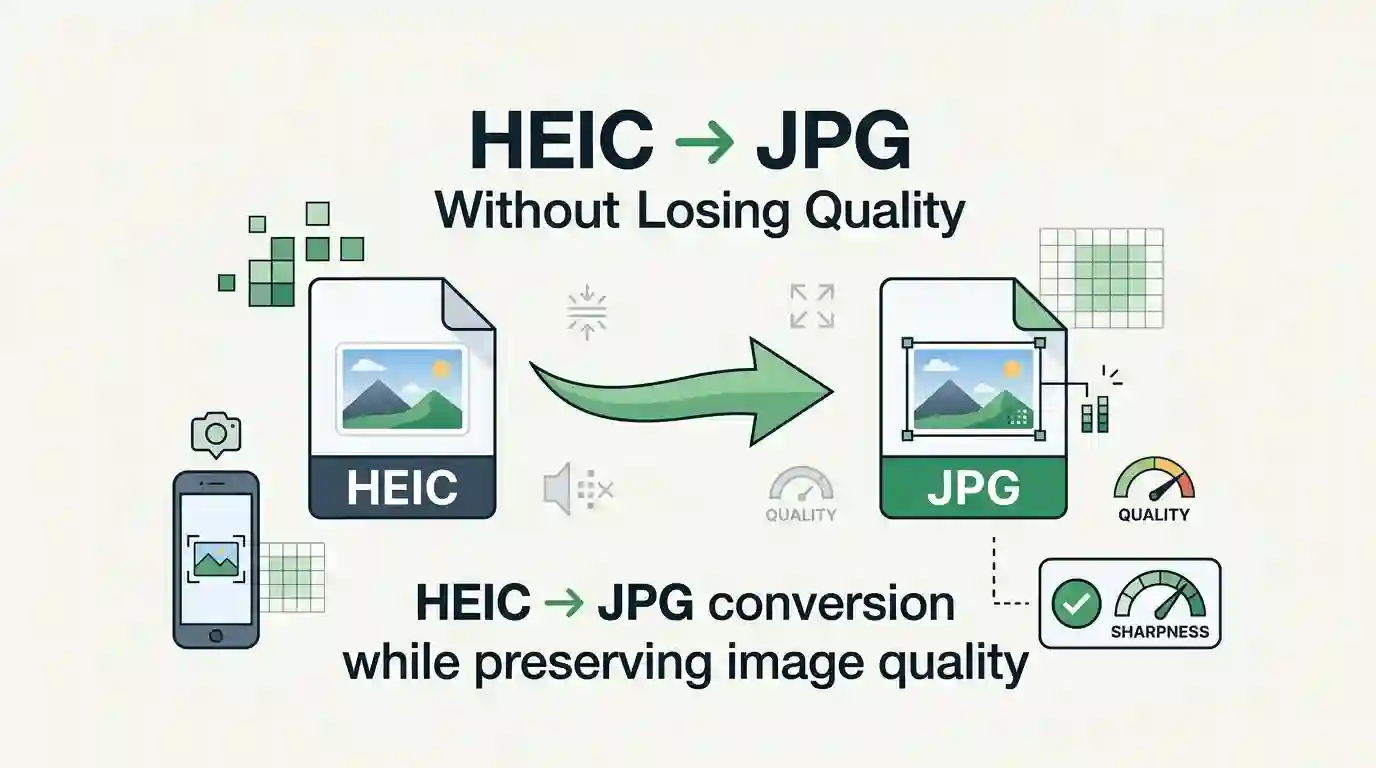
How to Convert HEIC Photos to JPG Without Losing Too Much Quality
HEIC photos are common on iPhone and iPad, and there is a good reason for that. The format can store high-quality photos efficiently while using less storage space than older image formats. The problem usually appears when you need to upload a photo to a website, send it to someone using a different device, or use it in software that does not properly support HEIC.
That is where JPG becomes useful. JPG is widely supported across websites, apps, browsers, computers, and other devices. But there is one important concern: converting HEIC to JPG can reduce image quality if the conversion is handled poorly.
The good news is that you do not need to accept a visibly degraded photo just because you need a JPG version. With the right approach, you can convert the image while keeping the result visually close to the original.
Why Does HEIC Need to Be Converted to JPG?
HEIC is designed to store images efficiently. Apple introduced HEIF support with iOS 11 and macOS High Sierra, and Apple explains that HEIF can provide better compression than JPEG while maintaining visual quality.
However, better compression does not always mean better compatibility.
You may encounter a situation where a website accepts JPG but rejects a HEIC file. Some older applications may also fail to open HEIC images correctly. In these cases, converting the photo to JPG is a practical solution.
For example, you may need a JPG when:
- Uploading an iPhone photo to a website that does not accept HEIC
- Adding a photo to an online application form
- Using an image in older editing software
- Sharing a photo with someone whose device has limited HEIC support
- Uploading an image to a service that specifically requires JPG or JPEG
Apple also notes that when HEIF media is shared with a device that does not support the newer format, it may be automatically converted to a more compatible format such as JPEG.
Does Converting HEIC to JPG Always Reduce Quality?
Not necessarily in a way that is obvious to the human eye.
The important thing to understand is that HEIC and JPG use different image-compression systems. When a HEIC image is converted to JPG, the resulting file is encoded as JPEG. Because JPEG is a lossy format, some image information can be discarded during encoding.
However, quality loss and visible quality loss are not the same thing. A carefully converted JPG can still look almost identical to the original HEIC photo when viewed normally.
The amount of visible change depends on several factors, including the original image, JPEG quality settings, image dimensions, resizing, and whether the image is compressed again after conversion.
What Actually Causes Quality Loss?
Many people assume that the conversion itself is responsible for every quality problem. In reality, several different steps can affect the final result.
1. Very Low JPEG Quality
JPEG allows different levels of compression. If the quality is set too low, the file becomes smaller but visual artifacts can appear.
You may notice blocky areas, blurred fine details, rough edges, or unusual patterns around text and objects with strong contrast.
2. Resizing the Photo
Converting the file format and changing the image dimensions are two separate operations.
If a 4000-pixel-wide photo is converted to JPG without resizing, its dimensions can remain the same. But if the same photo is converted and then reduced to 1200 pixels wide, you are also changing its resolution.
That may be useful for websites, but it is not necessary simply because you are changing HEIC to JPG.
3. Repeated JPEG Saving
Repeatedly opening and saving the same JPG can introduce additional compression losses. This is why it is better to keep the original HEIC file and create one JPG copy when you need a compatible version.
4. Additional Image Compression
A photo can be compressed more than once. For example, you might convert HEIC to JPG, upload the JPG to a website, and then that website may compress the image again.
So the final image may look different even though the initial HEIC-to-JPG conversion was done properly.
The Best Way to Preserve Quality During HEIC to JPG Conversion
If your priority is image quality, the simplest rule is this: convert the original HEIC file directly to JPG and avoid unnecessary resizing or extra compression.
For most everyday photos, you do not need to make the process complicated.
Before converting, keep these points in mind:
- Use the original HEIC file rather than a screenshot or previously compressed copy.
- Avoid reducing the image dimensions unless you actually need a smaller image.
- Do not repeatedly convert and resave the same photo.
- Use a reasonable JPEG quality level instead of aggressively reducing the file size.
- Keep the original HEIC file as a backup when the photo is important.
How to Convert HEIC to JPG Without Unnecessary Quality Loss
If you simply need a compatible JPG copy of your HEIC photo, you can use a browser-based converter instead of installing a separate desktop application.
For a quick conversion, you can use the HEIC to JPG Converter.
The useful part of this approach is that you can convert the image when you actually need a JPG version instead of changing the format of your entire photo library.
After conversion, open the JPG and compare it with the original HEIC. Look closely at faces, hair, small text, leaves, shadows, and other fine details. If the photo still looks natural at its intended viewing size, the conversion has done its job.
A Simple Example
Imagine you have an iPhone photo that is saved as a HEIC file. The photo looks excellent on your phone, but an online form only accepts JPG or JPEG.
Instead of taking a screenshot of the photo, editing it, or repeatedly sharing it through different apps, keep the original file and create a JPG copy from it.
The workflow would be:
- Keep the original HEIC photo unchanged.
- Convert that original photo to JPG.
- Check the converted JPG at normal viewing size.
- Use the JPG for the website or application that requires it.
- Keep the original HEIC for future use.
This approach gives you a compatible file while protecting the original photo from unnecessary changes.
HEIC vs JPG: Which One Should You Keep?
There is no need to treat HEIC and JPG as competitors where one must completely replace the other.
HEIC is useful when storage efficiency and the Apple ecosystem are important. Apple describes HEIF as a more efficient way to store images while maintaining visual quality.
JPG is useful when compatibility matters more. It is a familiar format supported by a very large range of websites, applications, browsers, and devices.
For that reason, a sensible approach is to keep your original HEIC photos and create JPG copies only when compatibility requires them.
When Should You Convert HEIC to JPG?
You probably do not need to convert every photo on your phone.
Conversion makes sense when a particular service, website, application, or recipient requires JPG.
For example, suppose an online application says “Upload JPG or JPEG only.” In that situation, converting the required photo is much more practical than changing the format of your entire photo collection.
The same idea applies to websites, online forms, older software, and systems that do not accept HEIC.
When You Should Not Convert the Original Photo
If the HEIC file already works perfectly for your purpose, there may be no reason to convert it.
Keeping the original is especially sensible for important personal photos, because it gives you a source file from which you can create other versions later.
Think of the JPG as a compatibility copy rather than a replacement for the original image.
What About Changing iPhone Camera Settings?
If you regularly need JPG files, you can also change the camera format on a compatible iPhone or iPad.
Apple provides a Most Compatible option under Camera settings. With this setting, new photos are captured as JPEG instead of HEIF.
That can be convenient for people who frequently send photos to systems that do not support HEIC. However, it also means your future photos will no longer use the more storage-efficient HEIF format.
So before changing the setting, consider how you normally use and store your photos.
How to Check Whether the Converted JPG Still Looks Good
You do not need specialized software to perform a basic quality check.
Open the original HEIC and the converted JPG side by side if possible. Then look at areas where compression problems are easiest to notice.
- Faces: Check skin details and hair.
- Text: Look for blurred or distorted small letters.
- Edges: Check objects with sharp outlines.
- Sky: Look for unusual blocks or banding.
- Fine details: Check leaves, fabric, grass, and distant objects.
If the JPG looks natural at the size you actually need, there is usually little practical reason to worry about minor differences that are difficult to see without zooming in.
Common Mistakes to Avoid
Several simple mistakes can make an otherwise good conversion look worse.
Converting a Screenshot Instead of the Original
A screenshot is not the same as the original photo. It can have different dimensions and may already contain processing or compression. Always start with the original HEIC when possible.
Reducing the Resolution Without a Reason
If a website only requires JPG, that does not automatically mean you need to make the photo smaller. Format conversion and image resizing are separate decisions.
Trying to Make the File Extremely Small
A tiny file is not always a better file. If you reduce JPEG quality too aggressively just to save a few hundred kilobytes, the visual difference may be much more noticeable than the storage benefit.
Deleting the Original Immediately
For important photos, keep the original HEIC until you are certain that the JPG version meets your needs.
What If a Website Rejects the JPG Too?
Sometimes the problem is not the image format itself. The website may also have restrictions on file size, dimensions, or supported extensions.
For example, a website might accept JPG files but reject anything larger than a certain file-size limit. In that case, converting HEIC to JPG solves only the format problem. You may still need to reduce the file size separately.
This is why it is useful to check the website's upload instructions before changing the image.
Does Converting HEIC to JPG Make the Photo More Compatible?
In many cases, yes. JPG is a long-established image format and is widely supported by websites and applications.
Apple itself provides options for exporting HEIF images as JPEG, and its sharing tools can also use more compatible formats when the receiving device does not support newer formats.
That does not mean JPG is always the technically superior format. It simply means JPG is often the more convenient choice when broad compatibility is the priority.
Final Thoughts
Converting HEIC to JPG does not have to mean sacrificing a noticeable amount of image quality. The key is to avoid unnecessary changes during the process.
Keep the original HEIC file, convert directly to JPG when compatibility requires it, avoid unnecessary resizing, and do not repeatedly recompress the resulting image. These simple habits can make a bigger difference than constantly searching for a different file format.
If you need a JPG version of an HEIC photo right now, you can use the BNWebTools HEIC to JPG Converter to create a compatible copy and then check the result before using it.
In short: keep HEIC when you want the original and its storage efficiency; create a JPG copy when compatibility matters. You usually do not need to choose one format forever.
Share this article
BnwebTools Team
Helping you work smarter with free online tools
💬 Comments
No comments yet. Be the first to share your thoughts!